Crustello - User Manual
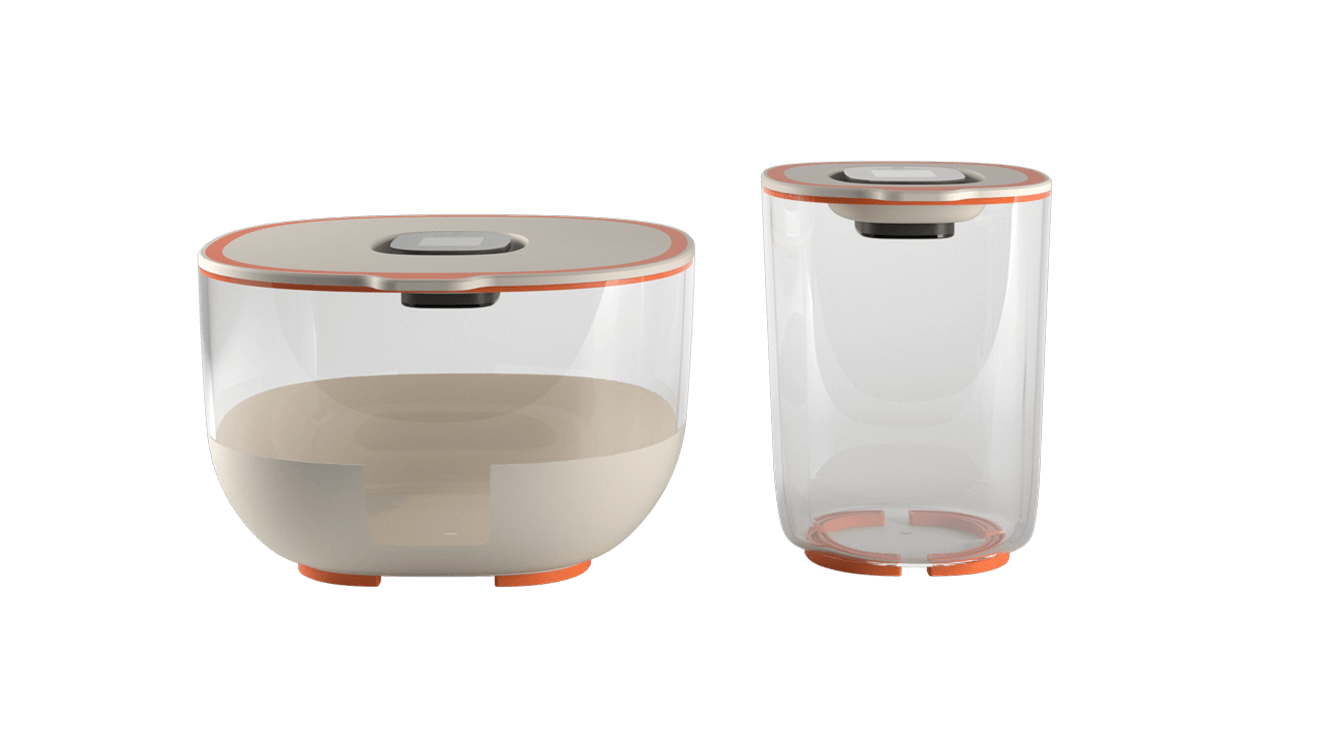
Smart dough and sourdough fermentation monitor
Thank you for choosing Crustello. This manual combines the quick-start instructions, device guide, and operating information into one reference for daily use.
Welcome
Crustello helps home bakers monitor fermentation with less guesswork. The sensor measures dough rise, dough temperature, bowl temperature, room temperature, and humidity, then displays the information on the sensor and in the Crustello mobile app.
Use this manual for setup, safe operation, cleaning, and mode-specific instructions for Dough, Pre-ferment, and Sourdough.
Specifications
Important Safeguards
Read all instructions before use. Crustello is intended for indoor household use only.
- Use Crustello only for monitoring dough, pre-ferment, and sourdough fermentation.
- Keep the sensor dry. Do not submerge it, rinse it under running water, or place it in a dishwasher.
- DO NOT expose the sensor to ovens, microwaves, stovetops, grills, freezers, or open flames.
- Use only a suitable 5V USB power source and a compatible USB Type-C cable.
- DO NOT use the sensor if it is visibly damaged, deformed, or not functioning correctly.
- DO NOT open, disassemble, or modify the sensor.
- Keep the product, cable, and packaging materials out of reach of children.
- The bowls are food-contact components (including the sensor).
Before First Use
- Fully charge the sensor before first use.
- Wash the bowls with warm soapy water before use. The bowls may also be cleaned in the dishwasher at low temperature.
- Wipe the sensor with a soft, dry, or slightly damp cloth only.
- Download the Crustello app from the Apple App Store or Google Play.
- Prepare a clean workspace and make sure your phone is near the sensor during pairing.
Charging and power
To power on the device, press any button. To power off, leave the device inactive. It will enter sleep mode automatically and shut down after a longer period of inactivity when not recording.
Charge the sensor using a compatible USB Type-C cable and a suitable 5V source. During charging, the battery icon animates; once fully charged, the icon remains static.
App Setup & Pairing
- Open the Crustello app and create or sign in to your account.
- Turn on the sensor by pressing either button.
- In the app, go to My Account > Sensors and tap the + button.
- When your sensor appears, tap Connect.
- Complete Wi-Fi setup, then configure the sensor name, language, and temperature units.
- Wait for the in-app confirmation that pairing is complete.
Once paired, the app shows live readings and lets you follow fermentation progress remotely.
Recorded information is uploaded securely to the cloud and then sent to the Crustello app, so you can view your fermentation data and progress from your phone.
Sensor home screen and buttons
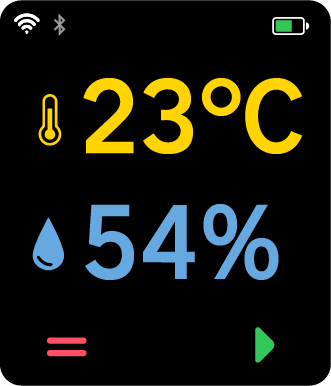
- Wi-Fi icon: green while uploading, red for connection issue, grey when idle or not connected.
- Bluetooth icon: green when connected to the app, grey when not connected.
- Battery icon: shows the current charge level.
- Main readings on the home screen include room temperature and humidity.
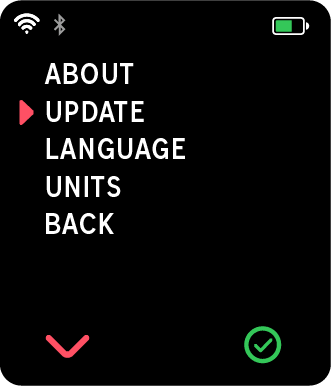
- Menu button opens About, Update, Language, Units, and Back.
- Start button opens the recording menu for Dough, Pre-ferment, and Sourdough.
- Use the left button to move the selection cursor. Use the right button to confirm or change the selected value.
Recording modes
Always select the mode that matches the bowl and the preparation you are monitoring. Using the wrong bowl or mode can lead to inaccurate results.
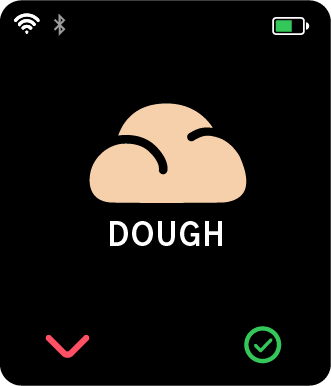
For standard dough fermentation in the proofing bowl. Set the dough weight, then start recording.
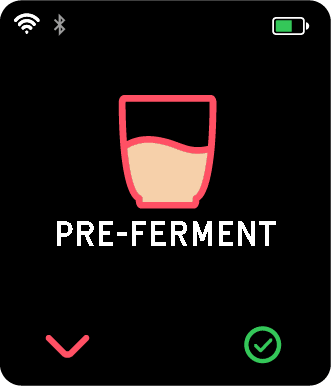
For pre-ferments in the starter bowl. Set the pre-ferment weight, then start recording.
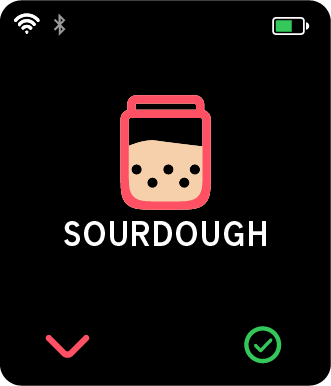
For sourdough starter in the starter bowl. Set the feeding ratio and starter weight, then start recording.
Dough mode
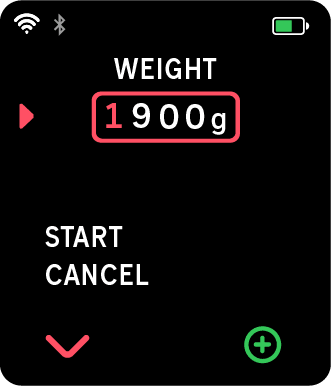
- Use Dough mode with the proofing bowl.
- Set the dough weight, then confirm Start.
- Supported dough weight range: 600 g to 2000 g.
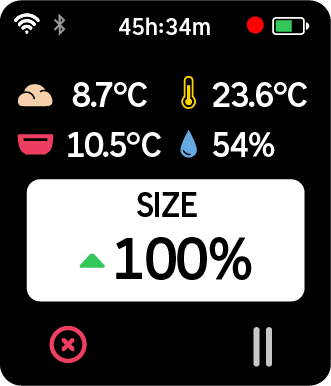
- During recording, the screen shows recording time, dough temperature, bowl temperature, room temperature, humidity, and dough size.
- The dough status may first show settling before switching to rising (green up arrow) or falling (red down arrow) shown next to the percentage.
- Use Pause when the lid is open or when you need to temporarily stop tracking (described below). Use Stop to end the recording.
Pre-ferment mode
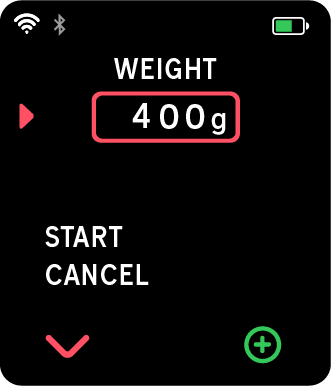
- Use Pre-ferment mode with the starter bowl.
- Set the pre-ferment weight, then confirm Start.
- Supported pre-ferment weight range: 100 g to 500 g.
- The display shows the same core readings as Dough mode, including size change over time.
- As with dough, the status may move from settling to rising or falling once the data stabilizes.
Sourdough mode
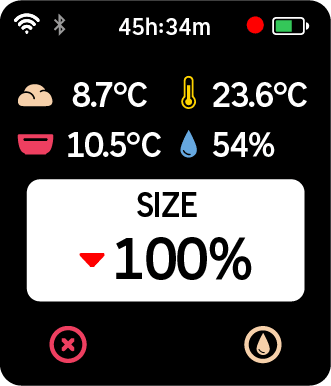
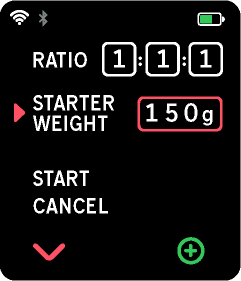
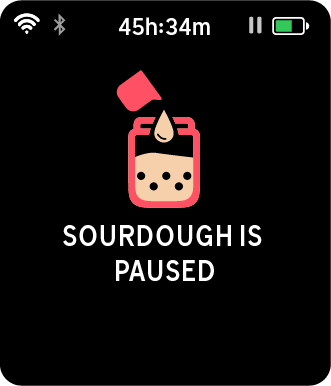
- Use Sourdough mode with the starter bowl.
- Set the starter ratio, then set the starter weight and confirm Start.
- Supported starter weight range: 30 g to 150 g.
- During recording, the screen shows the same environmental and fermentation readings used in the other modes.
- When feeding is due, use the Feed function to log the new ratio and starter weight (described below).
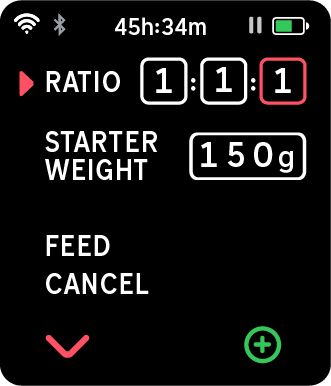
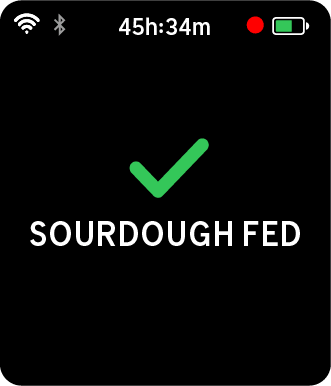
After feeding is confirmed, monitoring resumes so you can continue tracking temperature, humidity, and starter activity.
Important
Remember to keep the lid securely on the bowl whenever the Crustello sensor is actively tracking your dough's progress. The sensor works by precisely monitoring the environment and the rise of your dough inside the closed bowl. To ensure your data remains highly accurate and to avoid false readings, you should only press Start/Stop or Feed / Pause while the lid is in place.
Why does the lid need to be on?
When the lid is on the bowl, Crustello establishes a steady baseline to measure your fermentation. If you lift the lid while tracking is actively running, the sensor loses its physical reference point, which can cause sudden errors, spikes, or drops in your app's data.
Using the Pause Feature During Dough Prep
We know that sourdough baking is a hands-on process! You will naturally need to open the bowl throughout the day. You should always use the Pause function if you need to:
- Feed your sourdough starter
- Perform stretch and folds or coil folds
- Add water or inclusions
- Check the dough's texture
How to do it:
Dough/pre-ferment
- Tap Pause
 before lifting the lid off the bowl.
 - Remove the lid and perform your dough maintenance.
- Place the lid back onto the bowl.
- Tap Resume
 to continue your tracking seamlessly. Data monitoring will resume, allowing you to view
temperature, humidity, and dough size (rising) information again.
to continue your tracking seamlessly. Data monitoring will resume, allowing you to view
temperature, humidity, and dough size (rising) information again.
Sourdough
- Tap Feed
 before lifting the lid off the bowl.
 - Remove the lid and perform your sourdough feeding.
- Place the lid back onto the bowl.
- Tap
 and enter the ratio and starter weight.
 - Tap FEED to proceed.
- Once feeding is complete, a confirmation message will appear indicating that the sourdough has been fed. Data monitoring will resume, allowing you to view temperature, humidity, and dough size (rising) information again.
Cleaning & Maintenance
SENSOR
Clean the sensor using a soft, dry, or slightly damp cloth.
DO NOT use abrasive cleaners, harsh chemicals, or scouring pads.
DO NOT put the sensor in a dishwasher and do not immerse it in water.
BOWLS
Wash with warm water or in a dishwasher.
For best results, keep dishwasher temperature low and avoid deforming pressure from heavy items.
DO NOT wash the bowls above 40°C / 104°F.
STORAGE
Store the sensor in a cool, dry place away from direct sunlight and moisture.
DO NOT store the sensor in extreme heat or damp environments.
Troubleshooting
Contact Information
Please use the contact form on our website to contact us here.